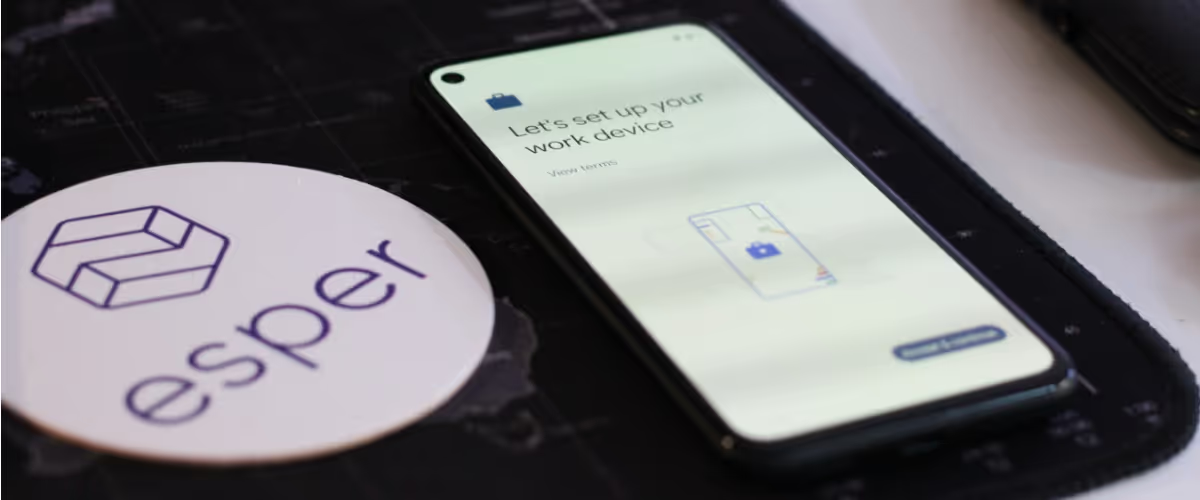
We offer multiple provisioning methods for onboarding new Android devices: Android for Work and 6-Tap QR as the most common, but Esper device management also works perfectly with Google’s Zero-touch enrollment (ZTE) for device provisioning.
Traditional provisioning methods need IT admin intervention to onboard a device. For example, when using the 6-Tap QR code method, you need to scan the QR code on the device to start provisioning. Similarly, the afw#esper account needs to be specified in order to enroll a device with the Android-for-Work method. The Zero-touch enrollment method is fuss-free, as the configurations can be pre-provisioned into the portal and applied to the device as it boots.
Although initially designed for corporate Choose Your Own Device (CYOD) situations, the Zero-touch enrollment method can be extended to dedicated device scenarios. Here, we will discuss the process for signing up and provisioning a device on the Esper platform using ZTE.
What is Google Zero-touch enrollment?
Google’s Zero-Touch enrollment method, or ZTE as it’s often called, is an alternative way to provision Android devices for enterprise management. It works best for bulk enrollment, as IT Admins don’t set up each device manually. Using the zero-touch portal, it’s easy to configure devices during staging and enforce an Enterprise Mobility Management (EMM) solution.
The Zero-touch enrollment portal takes care of the device set up for you, streamlining the deployment process so end users can simply open the box and run through a quick setup process with automatic provisioning.
Which devices can use Zero-touch enrollment?
Not all devices are enabled for Zero-touch enrollment. The devices must be purchased directly from an enterprise reseller or Google partner. If you have a Samsung device that is set up for both Knox Mobile Enrollment and Zero-Touch Enrollment, then Knox Mobile Enrollment gets the priority and the provisioning will proceed following the Knox Mobile Enrollment path. If you want the devices to follow ZTE, you need to remove any configuration assigned to the device in the Knox Mobile Enrollment portal.
Why use Zero-touch enrollment?
ZTE has a number of benefits — security, simplicity, and versatility, just to mention a few. Here are a few reasons why ZTE may be the right choice for your company and use case.
To avoid unauthorized use
With the traditional provisioning methods — AfW or the 6-Tap QR Code — the devices can still potentially be redeployed for an unintended purpose. For example, if you use Android for Work to enroll your devices and someone in the field factory resets it, they can then enroll it onto another MDM of their choice. While you can use Factory Reset Protection to prevent another Google account from being used, the device may potentially be soft bricked and require additional support to rectify.
Devices enabled for Zero-touch enrollment can only boot using the assigned EMM platform. During the setup process, the device checks and installs the specified device controller application. The device gets locked and assigned to a particular system and reboots into the same one even after a factory reset. So, if you provision a device onto Esper with ZTE, you have full control over the device, and it will stay on Esper — even after a factory reset.
With Zero-touch enrollment, you can avoid the situation where the devices are re-deployed for an unintended purpose. When the devices are in the field — for example, a kiosk or a shared device — if the end-user finds a way to factory reset, the device will be forced to re-provision into Esper using ZTE. This greatly restricts using the corporate-owned device for any personal use.
For simple, quick, automated setup
Zero-touch enrollment is a hassle-free provisioning method to onboard specific devices to the Esper platform. Once you specify all configurations into the zero-touch portal, it simplifies the staging operation so it can run without technical knowledge. These factors greatly reduce room for error and the work is done quickly, saving time and reducing cost.
Zero-touch enrollment opens doors for numerous use cases — like shipping devices ready-to-use to your customers. With the knowledge that the devices will be forced to onboard to Esper (and protected from tampering), it’s much easier to have the end-user boot the device and begin using it in the field.
Because it’s OEM agnostic
Since ZTE is a Google method, you have a large number of Android devices to choose from. Compared to Samsung Knox Mobile Enrollment (a similar automated enrollment method), which restricts you to only Samsung devices, the diversity of devices available with ZTE allows you to have different types of use cases and work with different OEMs, giving you a lot more flexibility.

How to sign up for the Zero-touch Portal
Using Google Zero-touch enrollment can be thought of as a two-step process:
- Signing up for the Zero-touch portal.
- Configuring the device to onboard the Esper platform.
To get access to the ZTE portal, the reseller sets everything up for the devices purchased. The customer should provide a corporate Gmail account to the ZTE reseller, a member email account (it can be the same as the manager email), and a customer name.
If the customer already has a ZTE account, they simply add a new reseller to their existing account. For example, you have a ZTE with Samsung and you buy new Lenovo devices. All you need to do is add the reseller who provided the Lenovo devices as an additional reseller into your existing ZTE account.
The reseller then creates a portal for the customer. Once the ZTE reseller loads serial numbers of purchased devices into their reseller portal, the devices are bound to the customer’s Google account. The serial numbers are now available in the customer’s ZTE enrollment portal.
The customer can then obtain the JSON code to set up the device to the endpoint with the provisioning template they intend to use. From there, turn on devices, connect to the Internet, and zero-touch enrollment takes over.
Note: It’s not completely touchless but still very smooth, especially with cellular devices.
How to configure devices on the Esper Console
As we discussed, the IMEI/Serial numbers will be available on the zero-touch portal. Once you have the devices available in the portal, you need to configure the devices to run Esper. As the device starts, it looks for the Esper Agent. This Agent requires JSON code with the specific template details to onboard a device into Esper.
- Create a provisioning template or a Blueprint with your desired settings
- Download the QR code JSON config file associated with the provisioning template or the Blueprint
- ZTE Setup
1. Click Configuration
2. Click Add configuration
3. Copy and paste the full output of the QR code JSON into the “DPC extras” field
4. Register your device IMEI/serial number with ZTE and assign it to the configuration
4. Factory reset the device and click through the Android setup prompts
And that’s all there is to it — the device should be provisioned.
If you need to onboard a large number of devices using the Zero-touch enrollment method, we can help. Check out our Help Center or get in touch with the Esper support team today.
Easily Provision Devices with Esper
FAQ
Keep Exploring


